It has been more than a month since I blogged. Hubby was away and I was way too busy running around with the kids and so on. Also stuck with daughter's school project. I was not this much inclined to my own projects when I was schooling.
For a long time I have wanted to try to combine both dark chocolate and white chocolate in one dish. Thus, came up with the idea of making a trifle. I just love trifles. They are simple yet luxurious desserts.
Dark and white chocolate have distinctly different tastes. Dark chocolate is made of chocolate liquor, cocoa butter, small amounts of sugar and vanilla. White chocolate is not true chocolate because it contains no chocolate liquor and, likewise, very little chocolate flavour. Instead, it is usually a mixture of sugar, cocoa butter, milk solids, lecithin and vanilla.
I used my famous moist chocolate cake as the base of the trifle. The recipe is found here.

Black & White Trifle
What do we need:
1 moist chocolate cake
200g cream cheese, room temperature
1 cup double cream, chilled
2 tbsp grated dark chocolate
White Chocolate Pudding
1 cup milk
100g white chocolate
1 egg yolk
1 tbsp corn flour
2 tbsp sugar
How do we do it:
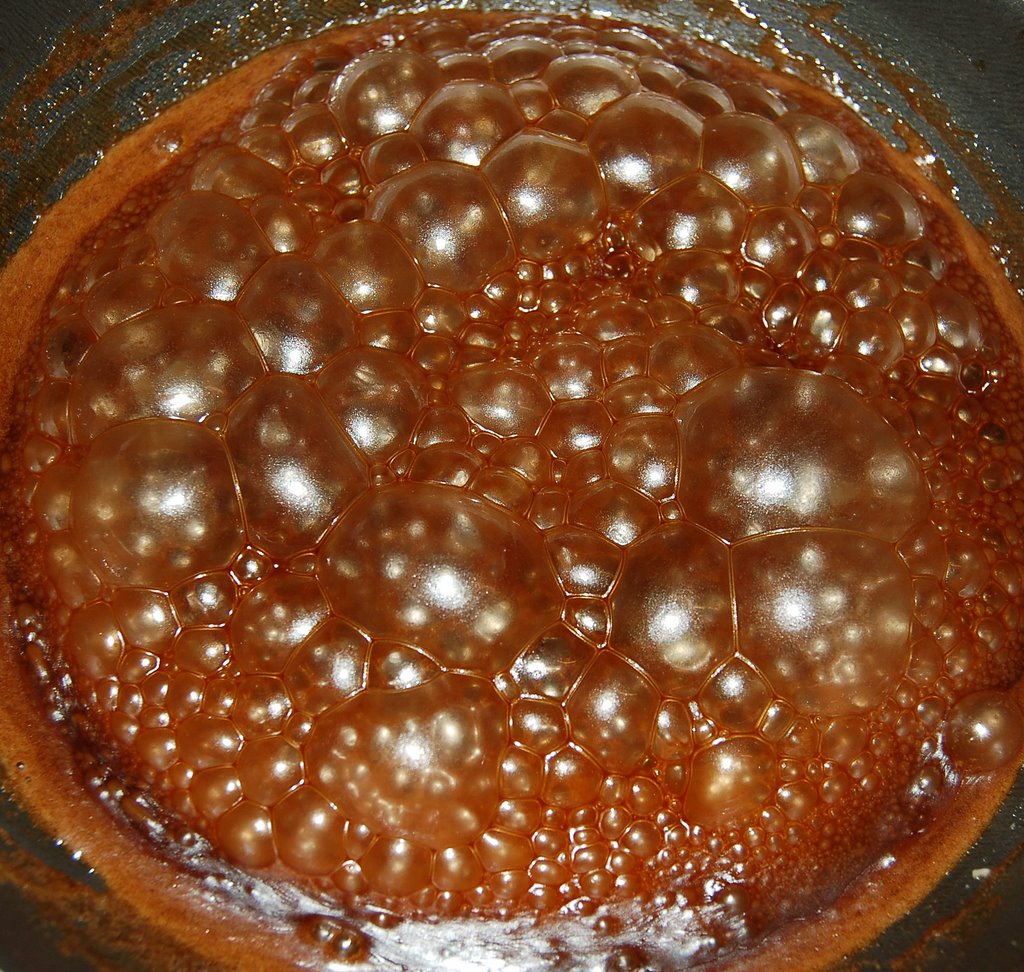
Combine all the pudding ingredients except the white chocolate. Cook on low heat while whisking constantly until mixture boils and thickens. Keep whisking for 2 minutes and remove from heat. Stir in the white chocolate. Cover with cling film and press down so that it touches the surface of the pudding. This is to prevent a skin from forming. Let cool completely.
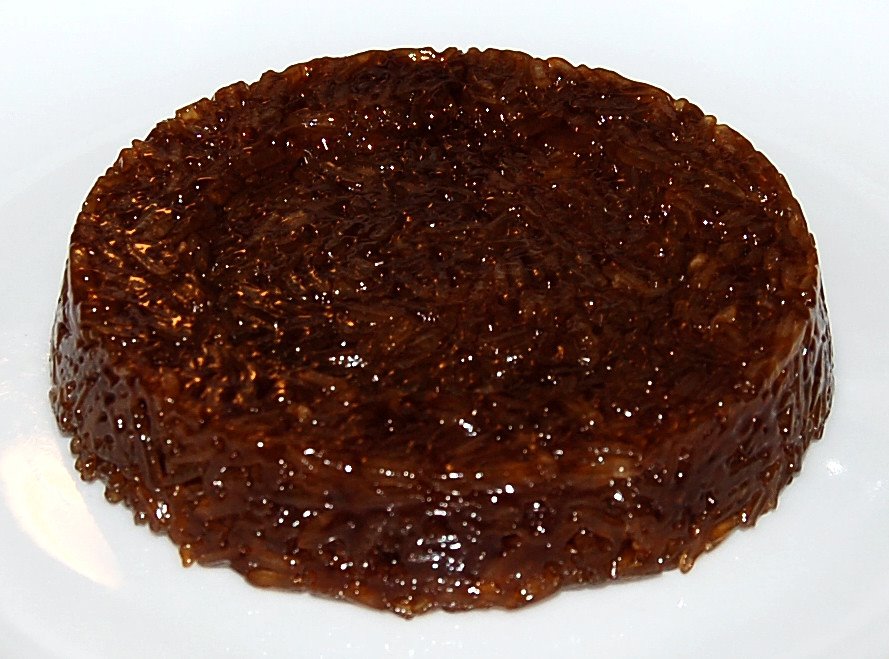
Slice the moist chocolate cake to 1 inch thickness and place it in a pie or flan dish.
Lightly beat the cream cheese until soft. Set aside. Beat the double cream until stiff. Fold in the softened cheese and the cooled white chocolate pudding. Pour the white chocolate cheese mixture on the cake. Finally, sprinkle the grated dark chocolate on top. Chill thoroughly. It tastes better after a few days.

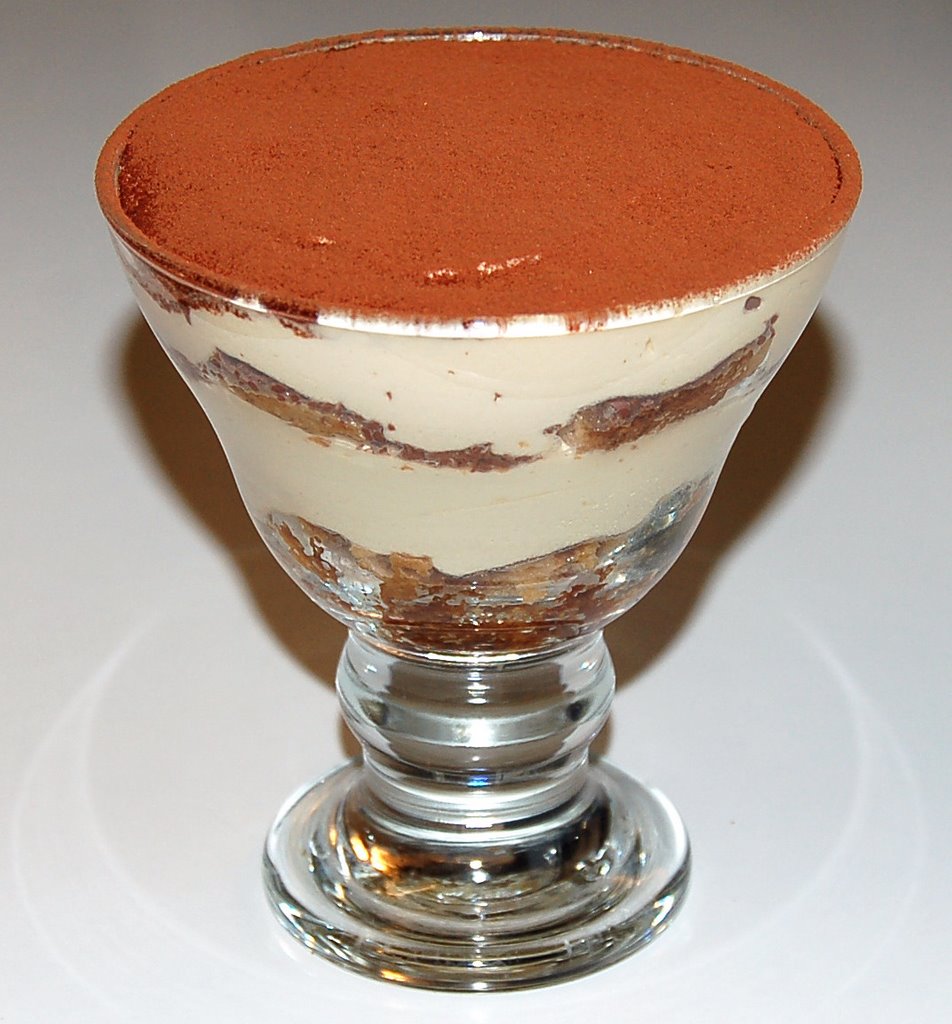
The trifle may also be made in smaller portions like in ramekins or dessert glasses.

This trifle not just look amazing but it tastes AWESOME!!
For a long time I have wanted to try to combine both dark chocolate and white chocolate in one dish. Thus, came up with the idea of making a trifle. I just love trifles. They are simple yet luxurious desserts.
Dark and white chocolate have distinctly different tastes. Dark chocolate is made of chocolate liquor, cocoa butter, small amounts of sugar and vanilla. White chocolate is not true chocolate because it contains no chocolate liquor and, likewise, very little chocolate flavour. Instead, it is usually a mixture of sugar, cocoa butter, milk solids, lecithin and vanilla.
I used my famous moist chocolate cake as the base of the trifle. The recipe is found here.

Black & White Trifle
What do we need:
1 moist chocolate cake
200g cream cheese, room temperature
1 cup double cream, chilled
2 tbsp grated dark chocolate
White Chocolate Pudding
1 cup milk
100g white chocolate
1 egg yolk
1 tbsp corn flour
2 tbsp sugar
How do we do it:
Combine all the pudding ingredients except the white chocolate. Cook on low heat while whisking constantly until mixture boils and thickens. Keep whisking for 2 minutes and remove from heat. Stir in the white chocolate. Cover with cling film and press down so that it touches the surface of the pudding. This is to prevent a skin from forming. Let cool completely.
Slice the moist chocolate cake to 1 inch thickness and place it in a pie or flan dish.
Lightly beat the cream cheese until soft. Set aside. Beat the double cream until stiff. Fold in the softened cheese and the cooled white chocolate pudding. Pour the white chocolate cheese mixture on the cake. Finally, sprinkle the grated dark chocolate on top. Chill thoroughly. It tastes better after a few days.

The trifle may also be made in smaller portions like in ramekins or dessert glasses.

This trifle not just look amazing but it tastes AWESOME!!